A customer has explored your website.
They''ve learned about your services.
They''ve seen your work.
They''ve contacted you.
They''ve shared their project information.
And now they''ve decided to work with you.
That''s exciting.
But the customer journey isn''t finished.
In many ways, it''s just beginning.
The onboarding experience is the transition between:
“I want to work with this business.”
and:
“Our project has officially started.”
A strong onboarding process can help customers feel welcomed, informed, organized, and confident about what happens next.
Here are some ways to create a client onboarding experience that makes a great first impression.
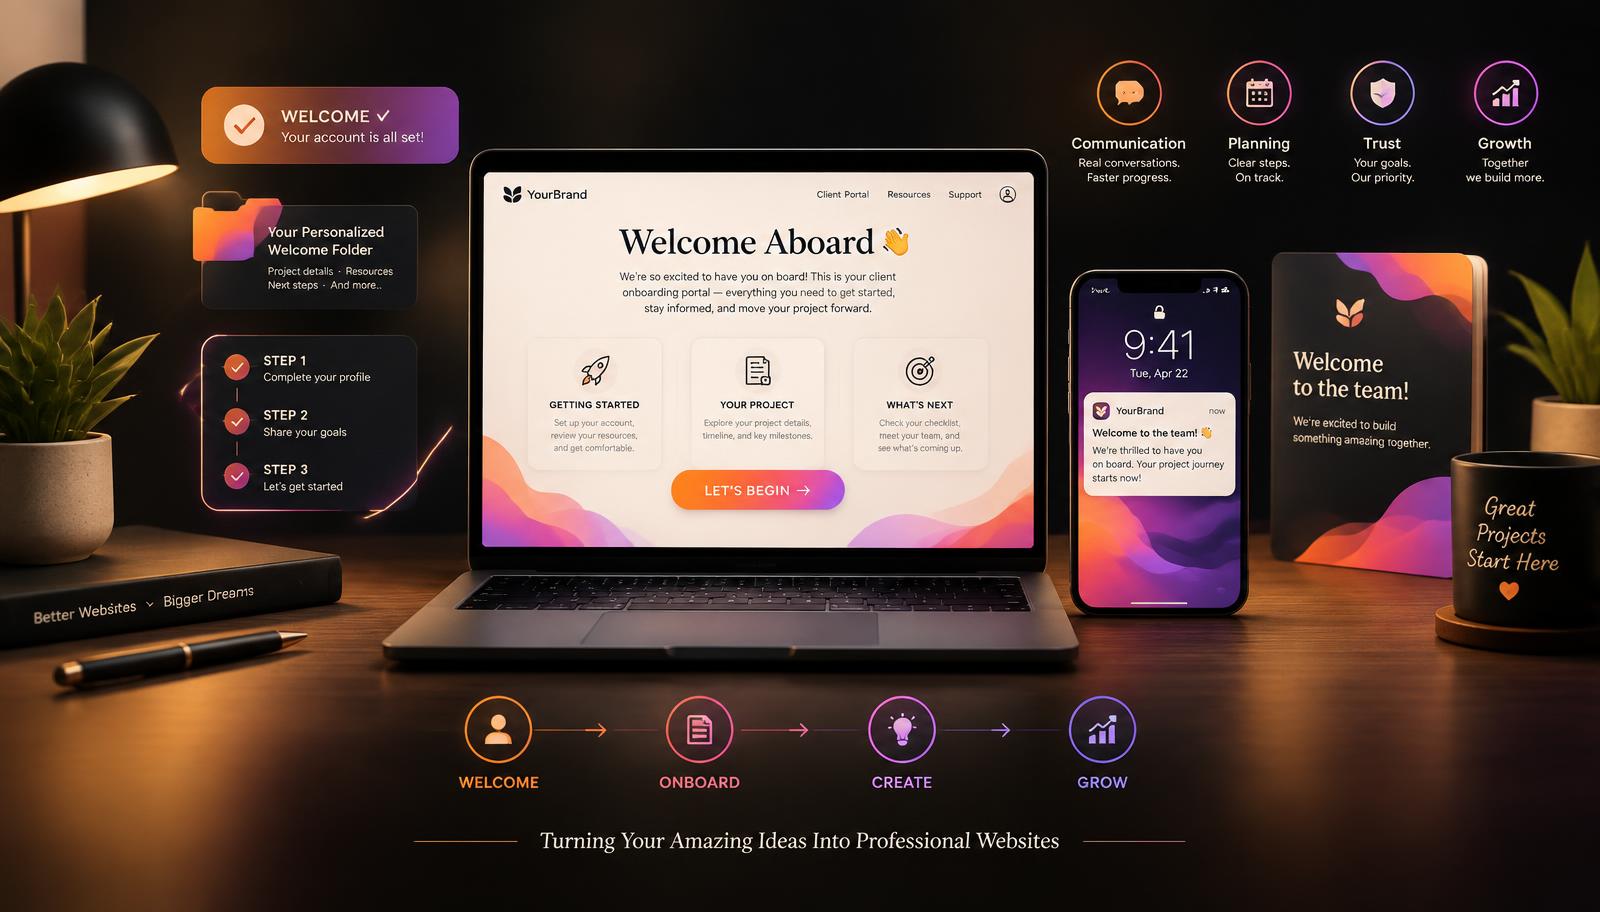
1. Start With a Warm Welcome
Don''t let the first official project communication feel cold or transactional.
Welcome the customer.
Thank them for choosing your business.
Let them know you''re excited to learn more about their vision and begin working together.
A simple message can make a difference:
“Welcome! We''re excited to work with you and help bring your amazing idea to life.”
Professionalism and warmth can work together.
2. Confirm What Happens Next
Customers shouldn''t have to wonder:
“What do I do now?”
Immediately explain the next step.
For example:
- Review and confirm project details.
- Complete any remaining onboarding information.
- Provide required content and files.
- Schedule the kickoff meeting.
- Begin project planning.
A clear sequence can reduce uncertainty.
3. Provide a Welcome Guide
Consider creating a simple client welcome guide.
It might include:
- Welcome message
- Project overview
- Communication expectations
- Project stages
- What you need from the customer
- Revision process
- Important deadlines
- Frequently asked questions
- Contact information
This gives customers one place to review important information.
4. Confirm the Project Scope
Before work begins, make sure both sides understand what is included.
Clearly identify:
- Services being provided
- Pages being created
- Features being included
- Deliverables
- Number or structure of revisions when applicable
- Customer responsibilities
- Important exclusions
Clarity at the beginning can help prevent misunderstandings later.
5. Set Communication Expectations
Tell customers how communication will work.
For example:
- What is the preferred communication method?
- Who should they contact?
- How often will they receive updates?
- When can they generally expect responses?
- How should urgent issues be handled?
You don''t need to be available every minute of every day to provide good service.
You need a clear communication process.
6. Create One Primary Communication Channel
Project information can quickly become scattered across:
Email. Text messages. Social media. Phone calls. Documents. Different platforms.
Whenever possible, establish a primary place for important project communication.
This makes it easier to keep information organized and reduces the chance that something important gets lost.
7. Introduce the Project Process
Show customers how their project will move forward.
For a website project, the process might look like:
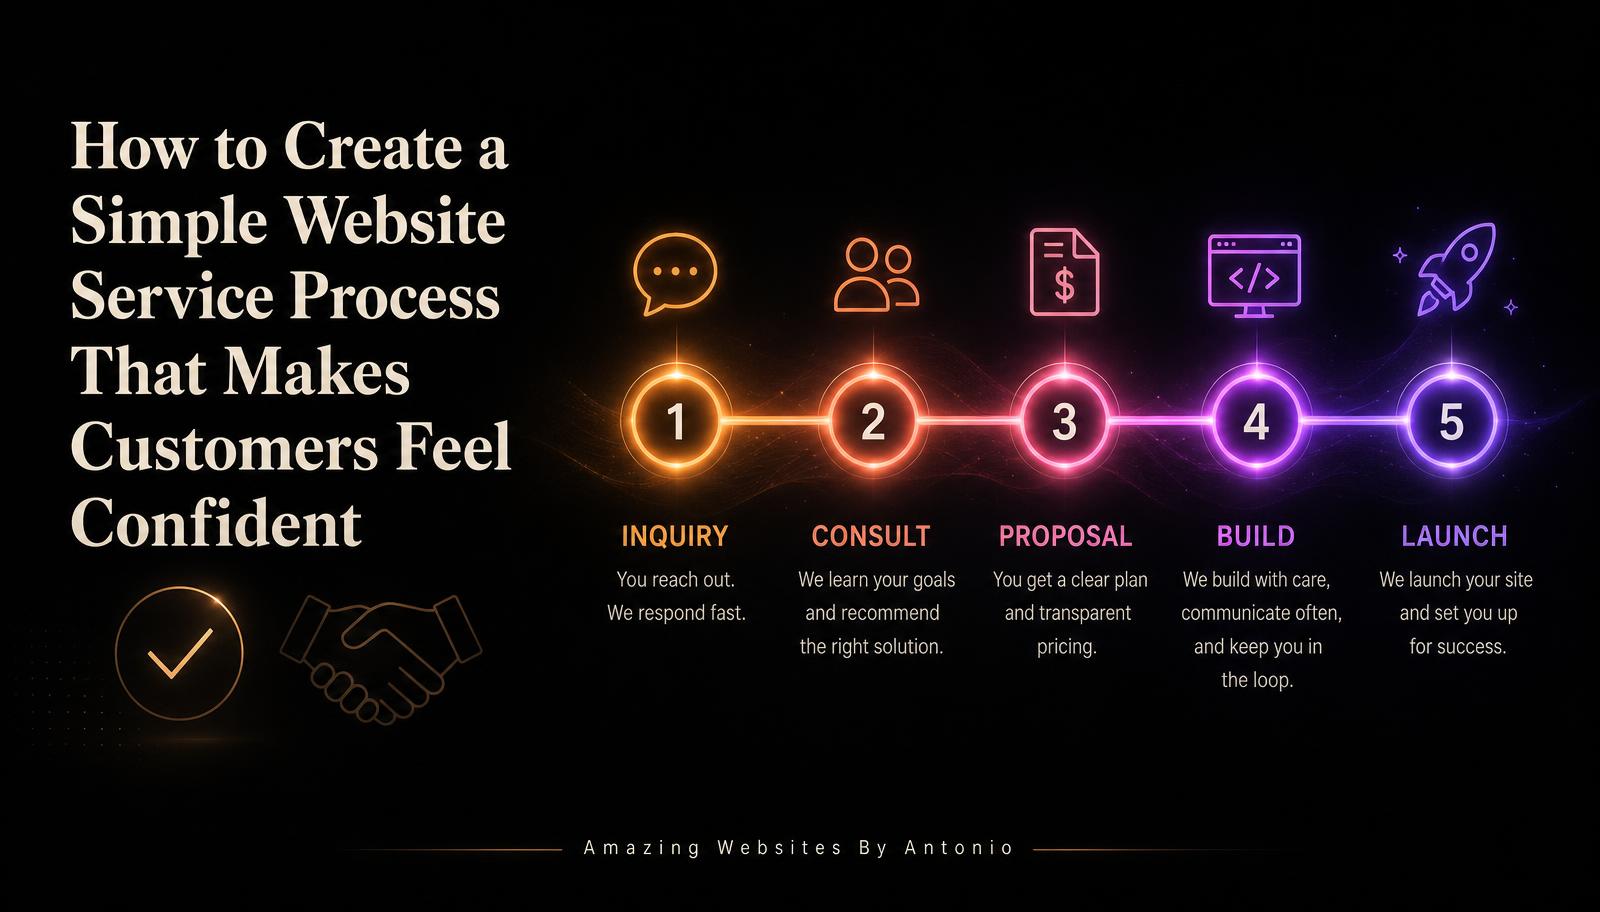
Discovery → Planning → Design → Development → Review → Revisions → Testing → Launch → Support
Customers don''t need every technical detail.
They need to understand the journey.
8. Explain Customer Responsibilities
A successful project is often collaborative.
Clearly explain what you''ll need from the customer.
That may include:
- Logo files
- Brand colors
- Written content
- Photos
- Product information
- Testimonials
- Account access when appropriate
- Feedback
- Approvals
Customers can prepare more effectively when they know what''s expected.
9. Create a Content Checklist
Website projects often slow down because content is missing.
A checklist can help.
For example:
- Logo
- Business description
- About information
- Service descriptions
- Contact information
- Photos
- Testimonials
- Social media links
- Product information
- Policies when applicable
- Existing brand guidelines
Make the list specific to the project.
10. Make File Sharing Organized
If customers need to provide files, explain where and how to send them.
Avoid having important assets scattered across multiple conversations whenever possible.
Create clear folders or categories such as:
- Logos
- Photos
- Content
- Branding
- Products
- Documents
- Testimonials
Organized files can create a more organized project.
11. Schedule a Kickoff Meeting When Appropriate
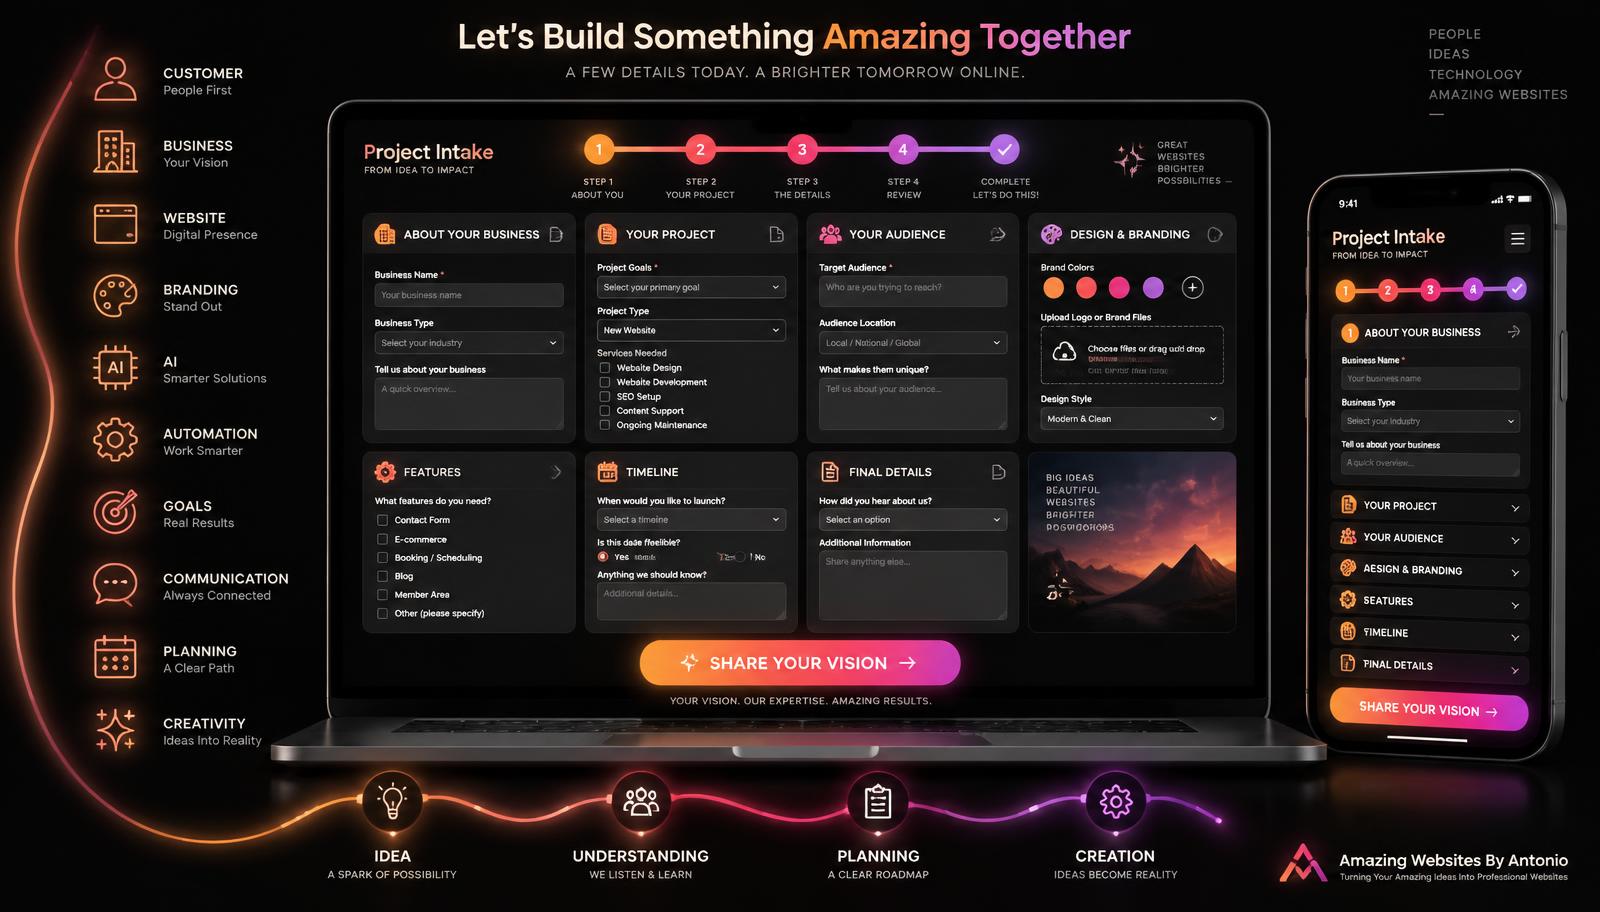
A kickoff meeting can help turn intake-form answers into a deeper conversation.
Use the meeting to:
- Confirm goals
- Review priorities
- Discuss the audience
- Clarify features
- Explore design preferences
- Answer questions
- Confirm next steps
The intake form gives you information.
The kickoff conversation adds context.
12. Review the Customer''s Goals
Before focusing on colors and layouts, return to the bigger question:
What should this project accomplish?
Maybe the goal is to:
- Establish a professional online presence
- Generate leads
- Sell products
- Promote services
- Accept bookings
- Build credibility
- Share resources
- Improve an existing customer experience
Keep the goal visible throughout the project.
13. Establish a Timeline
Customers want to know when things will happen.
Provide a realistic timeline when possible.
Instead of only giving one final deadline, consider showing milestones.
For example:
- Week 1 — Discovery & Planning
- Week 2 — Initial Design
- Week 3 — Development
- Week 4 — Review & Revisions
- Week 5 — Testing & Launch
This is only an example.
Actual timelines should reflect the project''s real scope and complexity.
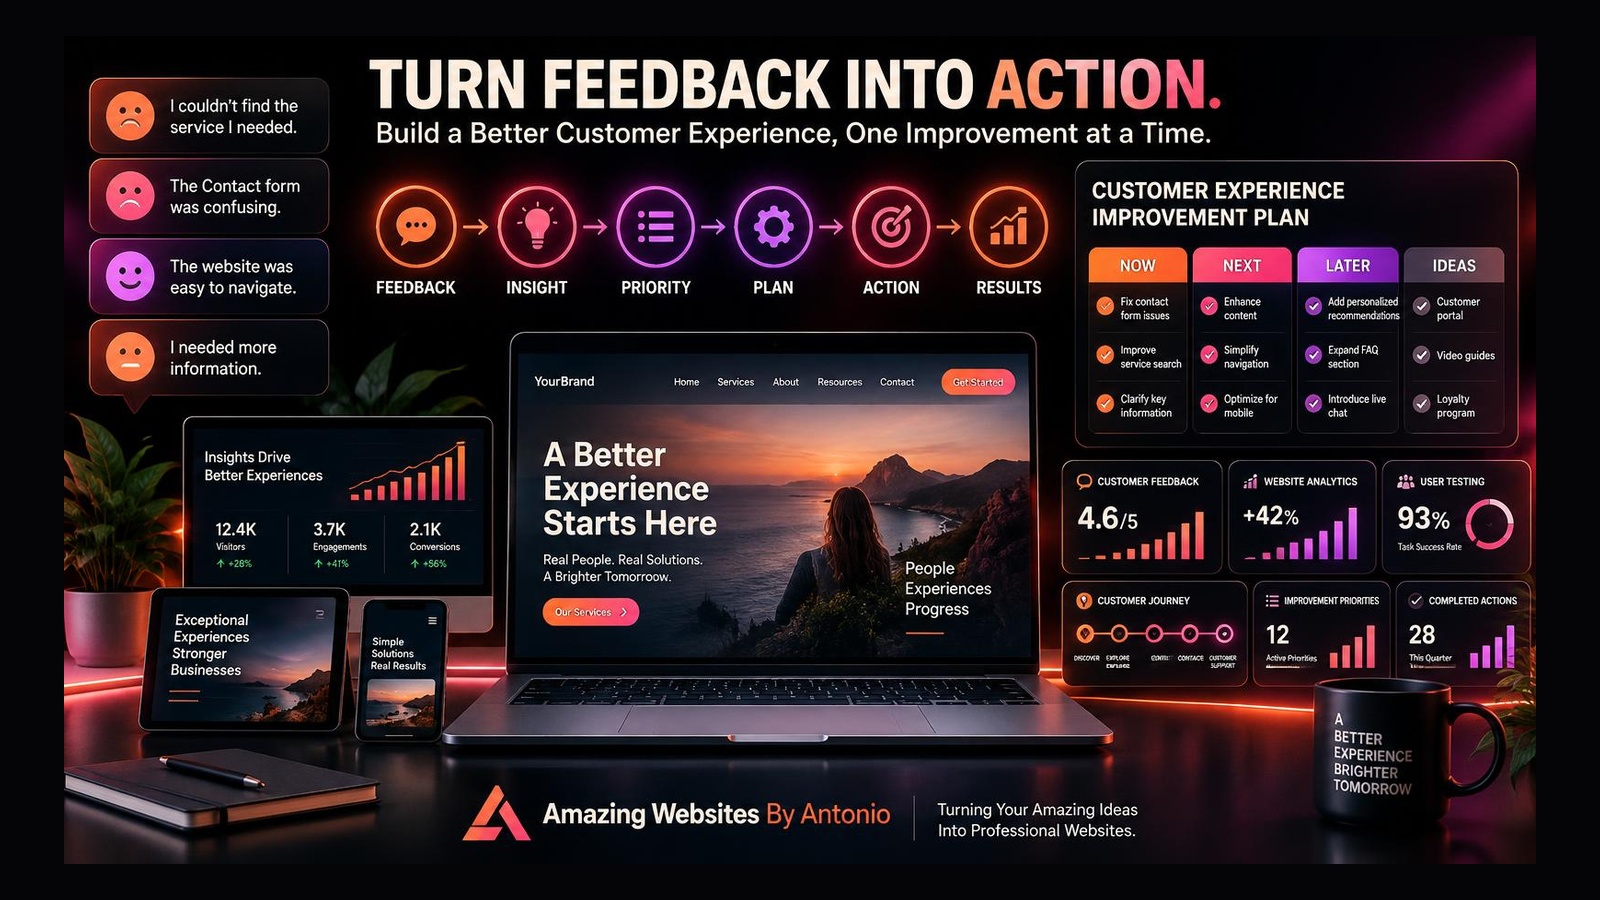
14. Explain How Feedback Works
Feedback is part of the creative process.
Tell customers how to provide it.
Encourage specific feedback.
Instead of:
“I don''t like it.”
More useful feedback might be:
“The homepage feels too formal for our audience. We''d like it to feel warmer and more welcoming.”
Clear feedback makes revisions easier.
15. Explain the Revision Process
Customers should understand:
- When revisions happen.
- How revisions are submitted.
- What type of changes are included.
- What happens when requested work falls outside the agreed project scope.
Clear expectations protect both the business and the customer.
16. Keep Important Information in Writing
Conversations are valuable.
But important project details should also be documented.
This might include:
- Project scope
- Pricing
- Deliverables
- Timelines
- Approvals
- Revision expectations
- Major project decisions
Written documentation creates a useful reference for everyone involved.
17. Make Payment Expectations Clear
If payments are part of the project, customers should understand:
- Project price
- Deposit requirements
- Payment schedule
- Due dates
- Accepted payment methods
- When work begins
- When final payment is due
Avoid surprises.
Clear financial expectations are part of a professional customer experience.
18. Show Customers How to Prepare
Before the project begins, give customers a short checklist.
For example:
- Review your project goals.
- Gather your logo and branding.
- Collect important photos.
- Prepare service information.
- Identify websites you like.
- Write down questions.
- Think about your ideal customer.
This helps everyone arrive prepared.
19. Personalize the Experience
Automation can make onboarding more efficient.
But don''t make customers feel like they''re simply moving through a machine.
Use their name.
Reference their project.
Acknowledge their goals.
Respond to their questions.
Personal touches can make an organized process feel human.
20. Use Automation Where It Helps
Some onboarding steps can be automated.
For example:
- Welcome emails
- Intake-form confirmations
- Meeting reminders
- Payment reminders
- File-request reminders
- Status updates
Automation should remove repetitive work while preserving a personal customer experience.
21. Don''t Overwhelm the Customer
There''s a lot of information involved in starting a project.
Don''t send everything at once if it isn''t necessary.
Organize information into logical stages.
For example:
Welcome → Project Details → Content Collection → Kickoff → Creation → Review → Launch
Give customers the information they need when they need it.
22. Create a Client Checklist
A simple checklist can make onboarding easier to follow.
For example:
- Project scope confirmed
- Agreement completed
- Initial payment completed if required
- Intake form reviewed
- Content requested
- Files received
- Kickoff meeting scheduled
- Timeline confirmed
- Communication method confirmed
- Project ready to begin
This can also help your business maintain a consistent process.
23. Check In Before Work Begins
Before officially moving into creation, confirm that everything is ready.
Ask:
- Do we have the necessary information?
- Do we have the files?
- Are the goals clear?
- Is the timeline understood?
- Are there unanswered questions?
A quick check can prevent problems later.
24. Make the Customer Feel Confident
A customer has trusted you with something important.
Their business. Their idea. Their brand. Their website. Their vision.
Your onboarding process should communicate:
“We understand what you''re trying to accomplish, we have a process, and we know what happens next.”
Confidence is created through clarity and communication.
25. Remember That Onboarding Sets the Tone
The beginning of a project can influence how the entire experience feels.
If onboarding is confusing, the customer may wonder whether the rest of the project will be confusing too.
If onboarding is organized, welcoming, and clear, the customer begins the project with greater confidence.
Your onboarding process is part of your brand experience.
Final Thoughts
Winning a customer isn''t the finish line.
It''s the beginning of a relationship.
Once someone says:
“Yes, I want to work with you,”
your next responsibility is to make the transition into the project feel smooth.
Welcome them.
Explain the process.
Set expectations.
Organize the information.
Prepare the project.
Communicate clearly.
And remind them why they felt confident choosing your business in the first place.
A great first impression shouldn''t end when someone becomes a customer.
That''s when it should become even stronger.
Amazing Websites By Antonio
Turning Your Amazing Ideas Into Professional Websites