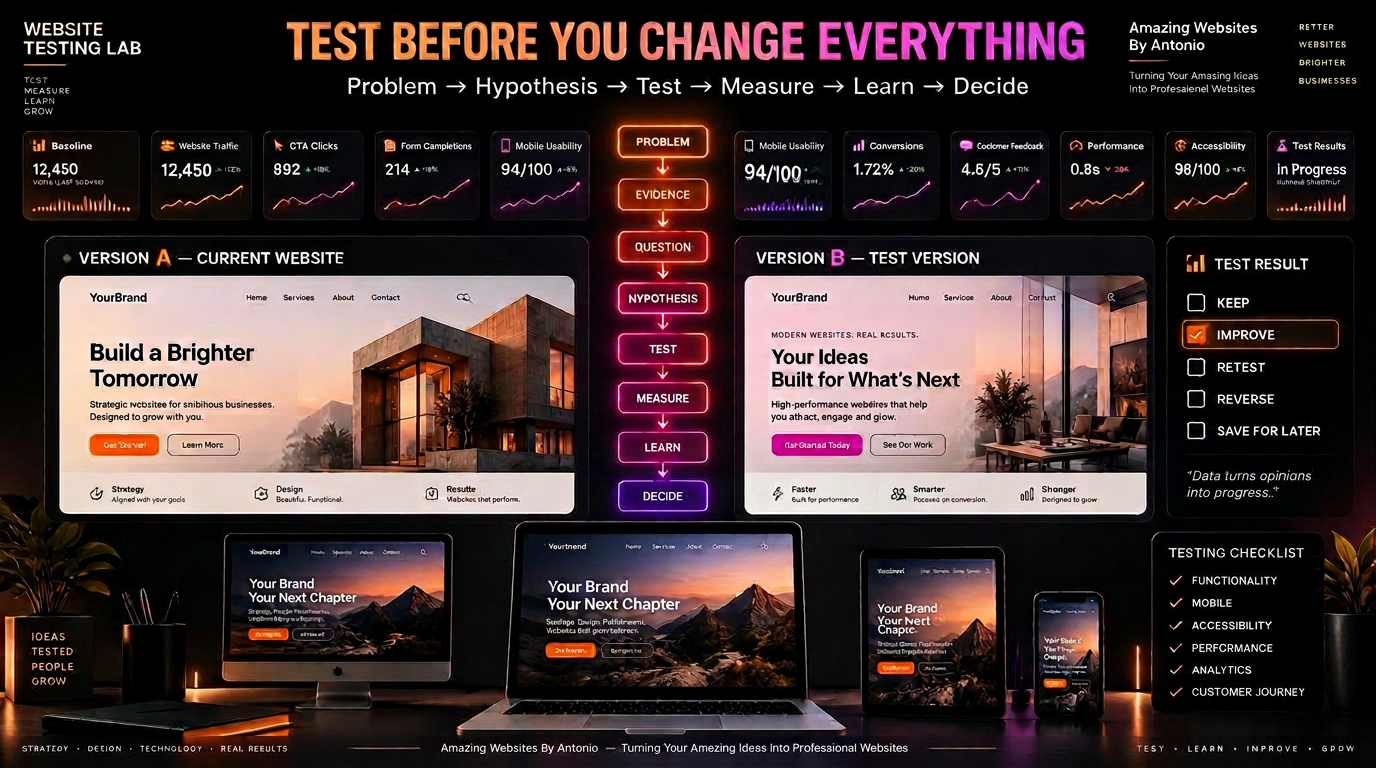
The website is almost finished.
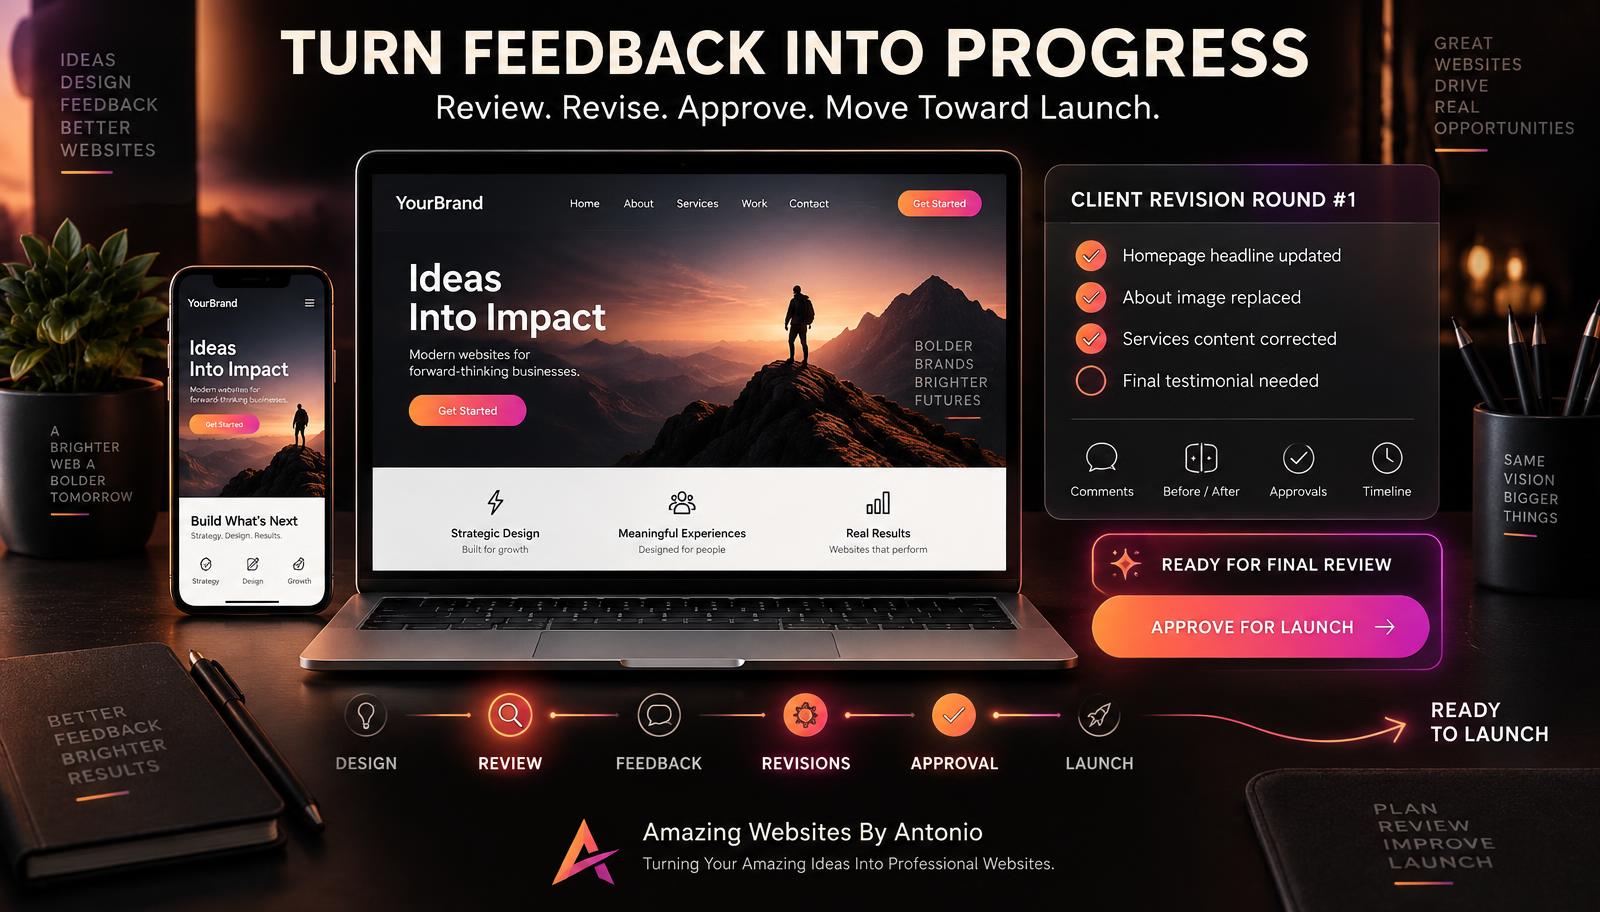
The design has been approved. The revisions are complete. The client is excited. And everyone is ready to press:
LAUNCH.
But before the website goes live, there is one more important stage:
PRE-LAUNCH TESTING.
A beautiful website can still have a broken link. An incorrect phone number. A form that doesn't send. An image that doesn't load. A page that looks great on a laptop but breaks on a phone. A button that leads to the wrong place. A forgotten placeholder.
That's why every website should go through a pre-launch review.
Here are some of the most important things to check before a website goes live.
1. Review Every Page
Start by visiting every page on the website. Don't only check the homepage.
Review:
- Home
- About
- Services
- Portfolio
- Testimonials
- Blog
- FAQ
- Contact
- Shop
- Booking
- Resources
- Legal pages
- Any other project-specific pages
Make sure each page is complete and ready for visitors.
2. Check All Written Content
Read the website carefully. Look for:
- Spelling mistakes
- Grammar issues
- Missing words
- Duplicate text
- Incorrect information
- Old business information
- Unfinished sentences
- Placeholder content
Check important details especially carefully: business name, phone number, email, services, hours, locations, prices when displayed, names, and dates.
One small error can affect trust.
3. Remove Placeholder Content
Search for unfinished content such as:
- LOREM IPSUM
- COMING SOON
- INSERT TEXT HERE
- SAMPLE TEXT
- YOUR BUSINESS NAME
- TEST TEST TEST
- PLACEHOLDER IMAGE
Temporary content is useful during development. It shouldn't accidentally make it onto the finished website.
4. Test the Main Navigation
Click every navigation item. Confirm that:
- Each link works
- Each link goes to the correct page
- Dropdown menus work
- The active page is clear when appropriate
- The logo returns visitors home
- Navigation works on mobile
Your navigation is one of the main ways visitors move through the website. Test it carefully.
5. Test Every Button
A website may contain dozens of buttons. Click them.
Examples: LEARN MORE, VIEW SERVICES, VIEW PORTFOLIO, READ MORE, CONTACT US, BOOK NOW, SHOP NOW, START YOUR PROJECT.
Every button should have a clear destination.
6. Check Internal Links
Review links that connect one page of the website to another. Make sure blog posts, service pages, portfolio pages, calls to action, and footer links all point to the correct destinations.
A strong internal-linking system should remain intact at launch.
7. Check External Links
If your website links to another website, test those links too. Examples might include social media, partner websites, booking platforms, payment platforms, and external resources.
Make sure you're sending visitors to the intended destination.
8. Test the Contact Form
Don't simply look at the form. Submit it.
Check:
- Required fields
- Optional fields
- Email validation
- Error messages
- Submit button
- Success message
- Email delivery
- Mobile functionality
Then confirm the message actually arrives where it is supposed to go.
A form that says "Message Sent" isn't enough if nobody receives the message.
9. Test Other Forms
Your website may include more than a contact form. Test newsletter forms, project intake forms, quote requests, testimonial forms, booking forms, registration forms, and feedback forms.
Complete them as if you were a real visitor.
10. Check Desktop Design
Review the website on a desktop or laptop. Look for:
- Alignment
- Spacing
- Text size
- Image quality
- Section width
- Button placement
- Navigation
- Footer layout
- Empty spaces
- Overlapping elements
The website should feel intentional from top to bottom.
11. Check Tablet Design
Don't forget the middle screen size. A design that works on desktop and mobile can still have problems on tablets.
Check navigation, columns, images, buttons, forms, text wrapping, and spacing.
Responsive design should work across screen sizes.
12. Check Mobile Design
Mobile testing is essential. Review every important page on a smartphone.
Make sure:
- Text is readable
- Buttons are easy to tap
- Navigation works
- Images fit
- Forms fit
- Nothing overlaps
- Nothing runs off the screen
- Sections stack correctly
- Popups don't block important content
The mobile experience should feel designed — not simply squeezed onto a smaller screen.
13. Test Different Browsers
Websites can behave differently across browsers. When practical, test the major browsers used by your audience.
Check important pages, forms, menus, and interactive features. Pay special attention to anything custom or complex.
14. Review Images
Make sure every image loads correctly, is sharp enough for its display size, fits its container, isn't accidentally stretched, isn't awkwardly cropped, supports the page content, and has appropriate alternative text where needed.
Also consider file size. Extremely large image files can slow a website down.
15. Review Video and Audio
If the website contains video or audio, test it. Check playback, volume controls, pause controls, mobile behavior, loading, captions or transcripts when appropriate, and whether autoplay behavior is appropriate.
Media should improve the experience, not disrupt it.
16. Review Page Titles and Meta Descriptions
Check important SEO information. Each major page should have an appropriate page title, and important pages should also have useful meta descriptions where supported.
Avoid leaving development titles such as:
- HOME - COPY
- TEST PAGE
- UNTITLED
- NEW PAGE
The information search engines and visitors see should represent the finished business.
17. Check Heading Structure
Review page headings. The main page topic should be clear, and subheadings should organize the information logically.
Good heading structure helps visitors scan the page and can also support accessibility and search-engine understanding.
18. Check URLs
Review page addresses. Instead of something confusing like /page-17-final-copy-new, prefer a clear structure such as:
- /services
- /portfolio
- /about
- /contact
- /blog
Keep URLs readable and meaningful when your platform allows it.
19. Review Accessibility
Accessibility should be considered throughout development, not added only at the end. Before launch, review important areas such as:
- Color contrast
- Keyboard navigation
- Form labels
- Alternative text
- Heading structure
- Link clarity
- Focus indicators
- Text readability
- Captions where appropriate
Accessibility testing can include both automated tools and manual review, because automated tools alone cannot identify every issue.
20. Check Website Speed
Test important pages for performance. Look for oversized images, unnecessary video files, heavy animations, excessive scripts, and slow-loading third-party features.
A beautiful website shouldn't make visitors wait unnecessarily.
21. Review the Footer
Because the footer appears across many pages, mistakes there can spread throughout the website.
Check the logo, business name, navigation links, contact information, social links, legal links, copyright information, and calls to action. Make sure everything is current.
22. Check Social Media Links
Click each social media icon and make sure it leads to the correct business profile. Don't leave default or placeholder social links active.
23. Review Privacy and Legal Information
Depending on the website, business, audience, location, and information being collected, certain notices or policies may be appropriate or legally required.
Review applicable privacy information, terms, cookie information, accessibility information, e-commerce policies, and refund or return information.
Legal requirements vary, so businesses should make sure their policies reflect their actual practices and applicable requirements.
24. Test E-Commerce When Applicable
If the website sells products, test the shopping experience. Review product pages, prices, variants, inventory behavior, add to cart, cart updates, checkout, payment processing, shipping options, confirmation messages or emails, and discount codes when applicable.
Use the platform's safe testing methods where available before processing live transactions.
25. Test Booking Systems
If visitors can schedule appointments, test the full process. Check available dates, available times, time zone behavior, confirmation, reminder settings, rescheduling, cancellation, and calendar integration when applicable.
Make sure the experience works from beginning to end.
26. Check Analytics
If the website uses analytics, verify that the intended setup is active and configured appropriately before relying on the data. Make sure you're measuring what is actually useful for the business.
Depending on the website, that might include page visits, contact-form submissions, purchases, bookings, and important button interactions.
Also make sure any tracking and consent practices match applicable privacy requirements.
27. Check the Domain
Before launch, confirm that the correct domain is being used, DNS settings are configured correctly, the website loads with the intended domain, and important redirects work when needed.
Domain changes can take time to propagate, so plan accordingly.
28. Check HTTPS and Security
Visitors should be able to access the site securely over HTTPS. Also review relevant security settings, platform updates, access permissions, backups, and other protections appropriate to the website and hosting environment.
Security is an ongoing responsibility — not a one-time launch checkbox.
29. Create a Backup or Recovery Plan
Know what happens if something goes wrong. Depending on your platform, confirm whether backups, version history, restoration, or recovery options are available.
A recovery plan can make unexpected problems easier to handle.
30. Check Admin Access
Make sure the correct people have the access they need, and remove unnecessary access when appropriate.
Use strong, unique passwords and available account-security protections. Avoid sharing one login among multiple people when individual accounts are available.
31. Review the Website as a First-Time Visitor
Now stop thinking like the person who built it. Pretend you've never seen the website before.
Ask:
- What does this business do?
- Who is it for?
- What should I do next?
- Can I find the services?
- Can I see proof?
- Can I contact the business?
- Is anything confusing?
This perspective can reveal issues that technical testing misses.
32. Ask the Client to Complete Final Review
The client should verify important business information before launch. Ask them to confirm business details, services, pricing when shown, names, photos, contact information, policies they are responsible for, and final content.
The person building the website may not know that a business detail is factually incorrect.
33. Get Final Launch Approval
Before going live, establish a clear approval. For example: "I have reviewed the final website and approve it for launch."
This creates a clear transition from building to going live.
34. Prepare for Launch Day
Know what needs to happen. Your launch plan might include:
- Connect domain
- Publish website
- Verify HTTPS
- Recheck navigation
- Test forms
- Check mobile
- Confirm analytics
- Verify search settings
- Confirm client access
- Announce launch
A checklist keeps excitement from turning into forgotten tasks.
35. Plan a Post-Launch Check
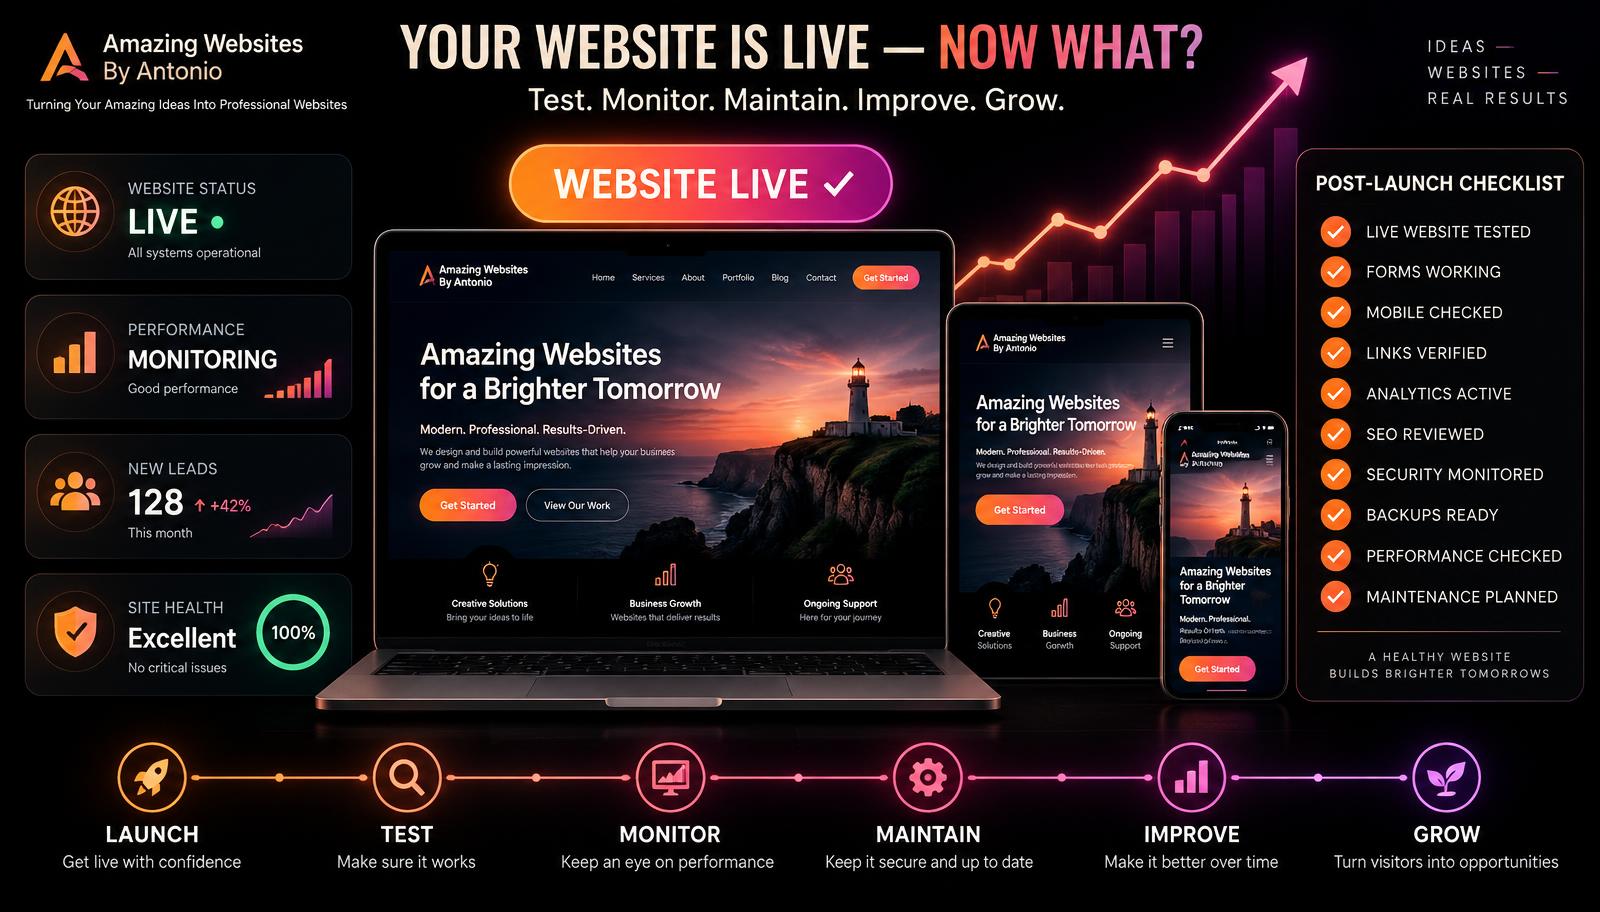
Testing doesn't end the moment the website goes live. After launch, check the live website again.
Test the domain, pages, navigation, forms, mobile experience, analytics, important integrations, and checkout or booking when applicable.
Sometimes an issue only becomes visible in the live environment.
36. Remember: Launch Is a Milestone, Not the End
A website isn't something you launch and never look at again. After launch, it may need content updates, security maintenance, new blog posts, performance checks, broken-link reviews, accessibility improvements, SEO improvements, new features, and analytics review.
The website can continue growing alongside the business.
Final Thoughts
Launch day should be exciting. It shouldn't be rushed.
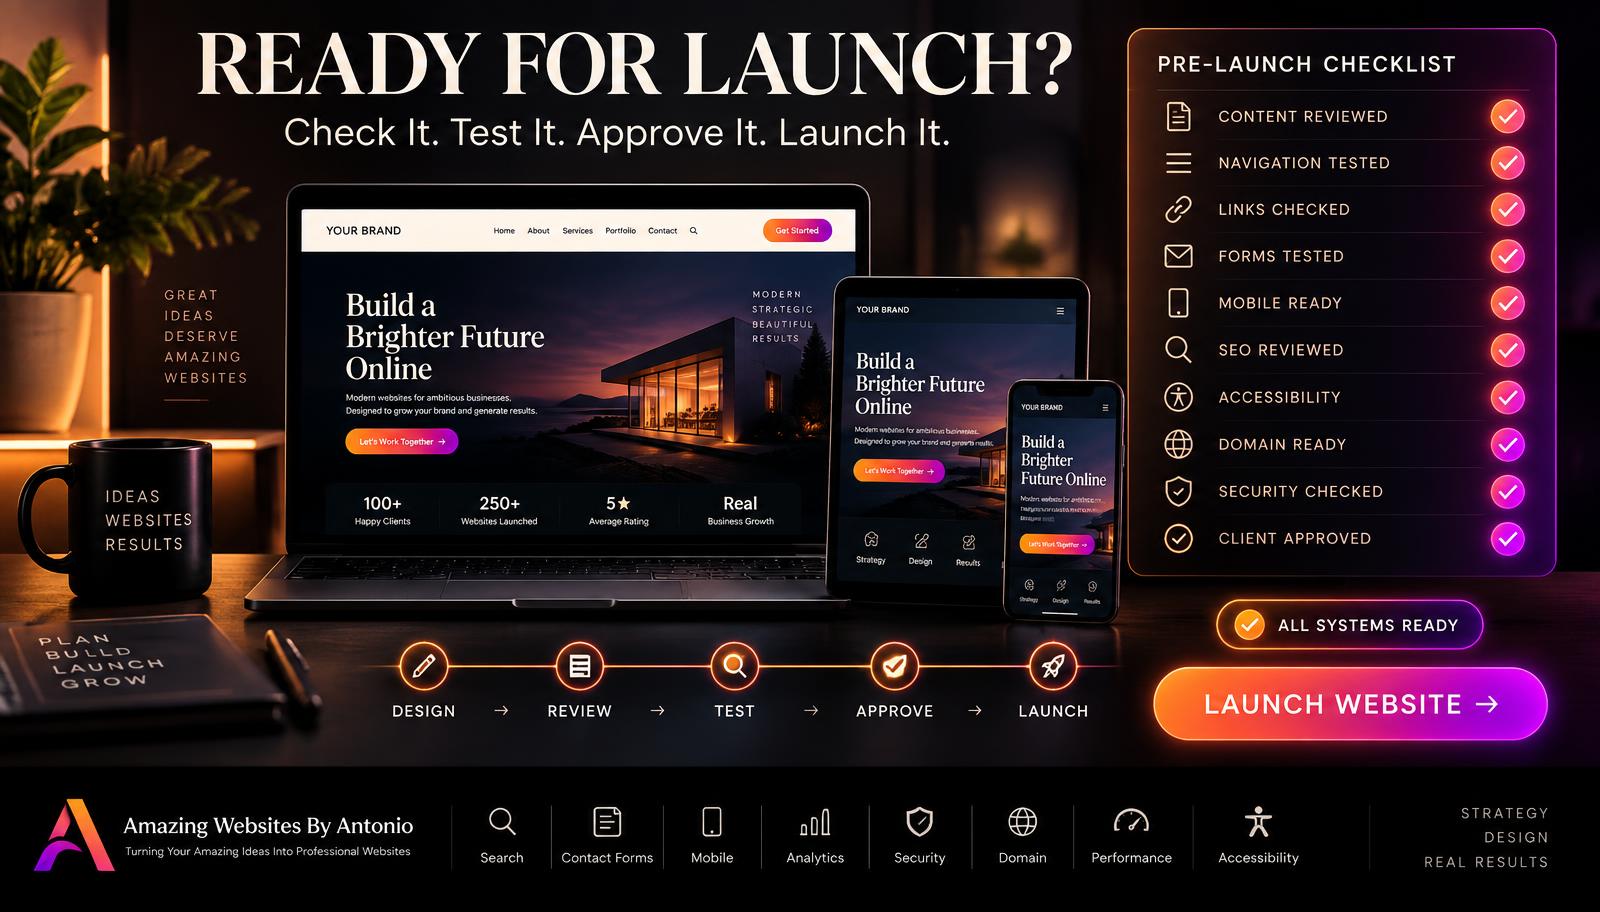
Before you press the button, slow down long enough to verify the details. Check the content. Test the links. Submit the forms. Review mobile. Check accessibility. Review SEO. Verify the domain. Test the important features. Get final approval.
Then launch with confidence.
A pre-launch checklist doesn't take excitement away from launch day. It protects it.
Because after all the planning, designing, developing, reviewing, and revising, you want the final moment to feel like this:
CHECKED. TESTED. APPROVED. READY. 🚀 LAUNCH.
Amazing Websites By Antonio
Turning Your Amazing Ideas Into Professional Websites