The first version of a website is ready.
You send it to the client.
They open it.
They start exploring.
And then the feedback begins.
“Can we change this?”
“Can we move that?”
“Can we try another picture?”
“What if this section went somewhere else?”
Feedback is a normal and important part of a website project.
The challenge isn’t avoiding revisions.
The challenge is creating a revision process that keeps feedback organized, decisions clear, and the project moving forward.
Without a process, revisions can become scattered across emails, texts, phone calls, social media messages, and conversations.
With a process, feedback becomes another organized stage of the project.
Here are some ways to create a website review and revision process that works for both the business and the client.
Explain the Revision Process Before Review Begins
Don’t wait until the first draft is finished to explain how revisions work.
During onboarding, tell the client:
- When they will review the website
- What they should review
- How they should submit feedback
- When feedback is due
- How revisions will be handled
- How approvals will work
Clear expectations make the review stage easier for everyone.
Don’t Send a Website Without Context
When you send a website for review, explain what the client is looking at.
For example:
WEBSITE REVIEW #1
This version focuses on:
- Overall design direction
- Homepage layout
- Brand colors
- Typography
- Main navigation
- Content structure
At this stage, please focus on the overall direction rather than small final details.
This helps clients understand what type of feedback is most useful.
Review the Big Picture First
Don’t begin by discussing tiny details.
Start with larger questions.
Does the website reflect the brand?
Does the overall design feel appropriate?
Is the main message clear?
Does the customer journey make sense?
Are the most important services easy to find?
Once the foundation is approved, smaller refinements become easier.
Break Reviews Into Stages
Instead of asking the client to review the entire website at once, consider using stages.
For example:
REVIEW #1 — DESIGN DIRECTION
- Colors
- Typography
- Visual style
- Homepage concept
REVIEW #2 — CONTENT & LAYOUT
- Page structure
- Written content
- Images
- Calls to action
REVIEW #3 — FINAL WEBSITE
- Links
- Forms
- Mobile experience
- Final details
- Accuracy
This can make feedback more manageable.
Give the Client a Review Checklist
Clients may not know what to look for.
Give them guidance.
WEBSITE REVIEW CHECKLIST
- ☐ Is your business name correct?
- ☐ Is your contact information correct?
- ☐ Are your services described accurately?
- ☐ Are the images appropriate?
- ☐ Does the website represent your brand?
- ☐ Are important pages included?
- ☐ Are calls to action clear?
- ☐ Are there spelling or factual corrections?
- ☐ Are any important details missing?
A checklist turns “What do you think?” into a more useful review.
Ask Specific Questions
Instead of asking:
“Do you like it?”
Ask:
- “Does the homepage clearly explain what your business does?”
- “Does this design feel appropriate for your target audience?”
- “Are these your most important services?”
- “Does this call to action match what you want visitors to do?”
Specific questions often lead to more actionable feedback.
Ask Clients to Combine Their Feedback
One of the easiest ways for revisions to become confusing is receiving changes one at a time.
Monday:
“Change the headline.”
Tuesday:
“Move the image.”
Wednesday:
“Actually, can we change the headline back?”
Whenever possible, ask clients to review the entire stage and submit one organized list.
For example:
HOMEPAGE
- Update headline.
- Replace hero image.
- Move testimonial section higher.
ABOUT PAGE
- Correct founding year.
- Replace team photo.
CONTACT PAGE
- Update phone number.
This makes feedback easier to track.
Keep Feedback in One Primary Location
Try to avoid collecting important revisions through:
- Text
- Social media
- Phone calls
- Different documents
- Different apps
All at the same time.
Choose one primary place for official revision requests whenever possible.
This reduces the chance that something gets missed.
Number Revision Requests
For larger projects, numbering feedback can make communication easier.
For example:
REVISION 1 — Change homepage headline
REVISION 2 — Replace About page photo
REVISION 3 — Update Services description
REVISION 4 — Add testimonial
Then you can respond:
REVISION 1 — COMPLETE
REVISION 2 — COMPLETE
REVISION 3 — NEEDS CLIENT CLARIFICATION
REVISION 4 — COMPLETE
Now everyone can see the status.
Separate Corrections From Preferences
Not all revisions are the same.
A factual correction might be:
“The phone number is incorrect.”
A design preference might be:
“I’d like to try a different image.”
A scope change might be:
“Can we add an online store?”
These should not necessarily be treated the same way.
Understanding the type of request helps determine what happens next.
Identify Scope Changes Early
Some requests aren’t really revisions.
They’re new features or additional work.
For example:
The original project included a five-page informational website.
During revisions, the client asks for:
- E-commerce
- Appointment booking
- Membership accounts
- A custom customer portal
Those requests may significantly change the project scope.
Explain that clearly before beginning the additional work.
Explain the Impact of New Requests
A scope change may affect:
- Price
- Timeline
- Technical requirements
- Launch date
- Deliverables
Don’t simply say:
“No.”
Instead, explain:
“Yes, that can be added. Because it wasn’t included in the original project scope, we’ll need to review the additional work, cost, and timeline before proceeding.”
This keeps the conversation professional.
Don’t Take Feedback Personally
Creative work receives feedback.
That doesn’t automatically mean the work was bad.
The client may have information you didn’t know.
They may understand their audience differently.
They may simply have a preference.
Listen carefully.
Ask questions.
Separate useful feedback from emotion.
The goal is to create the right solution for the project.
Help Clients Explain What Isn’t Working
Sometimes a client says:
“I don’t like it.”
That isn’t very specific.
Ask:
- “What feels off?”
- “Does it feel too formal?”
- “Too busy?”
- “Too colorful?”
- “Too plain?”
- “Is the image wrong for your audience?”
- “Does the message feel unclear?”
The reason behind the reaction is often more useful than the reaction itself.
Don’t Automatically Make Every Request
Good service doesn’t always mean saying yes immediately.
Sometimes a requested change could:
- Make text harder to read
- Hurt mobile usability
- Confuse navigation
- Weaken accessibility
- Distract from the main call to action
Explain your reasoning respectfully.
For example:
“We can make that change. One consideration is that reducing the button size may make it harder to tap on mobile devices. I’d recommend keeping it slightly larger for usability.”
The client can make an informed decision.
Show Before-and-After Changes When Helpful
For significant revisions, it can help to show:
BEFORE
and
AFTER
This makes the change easier to evaluate.
It can also help clients understand why a revision improved the page.
Track What Has Been Completed
Maintain a revision checklist.
For example:
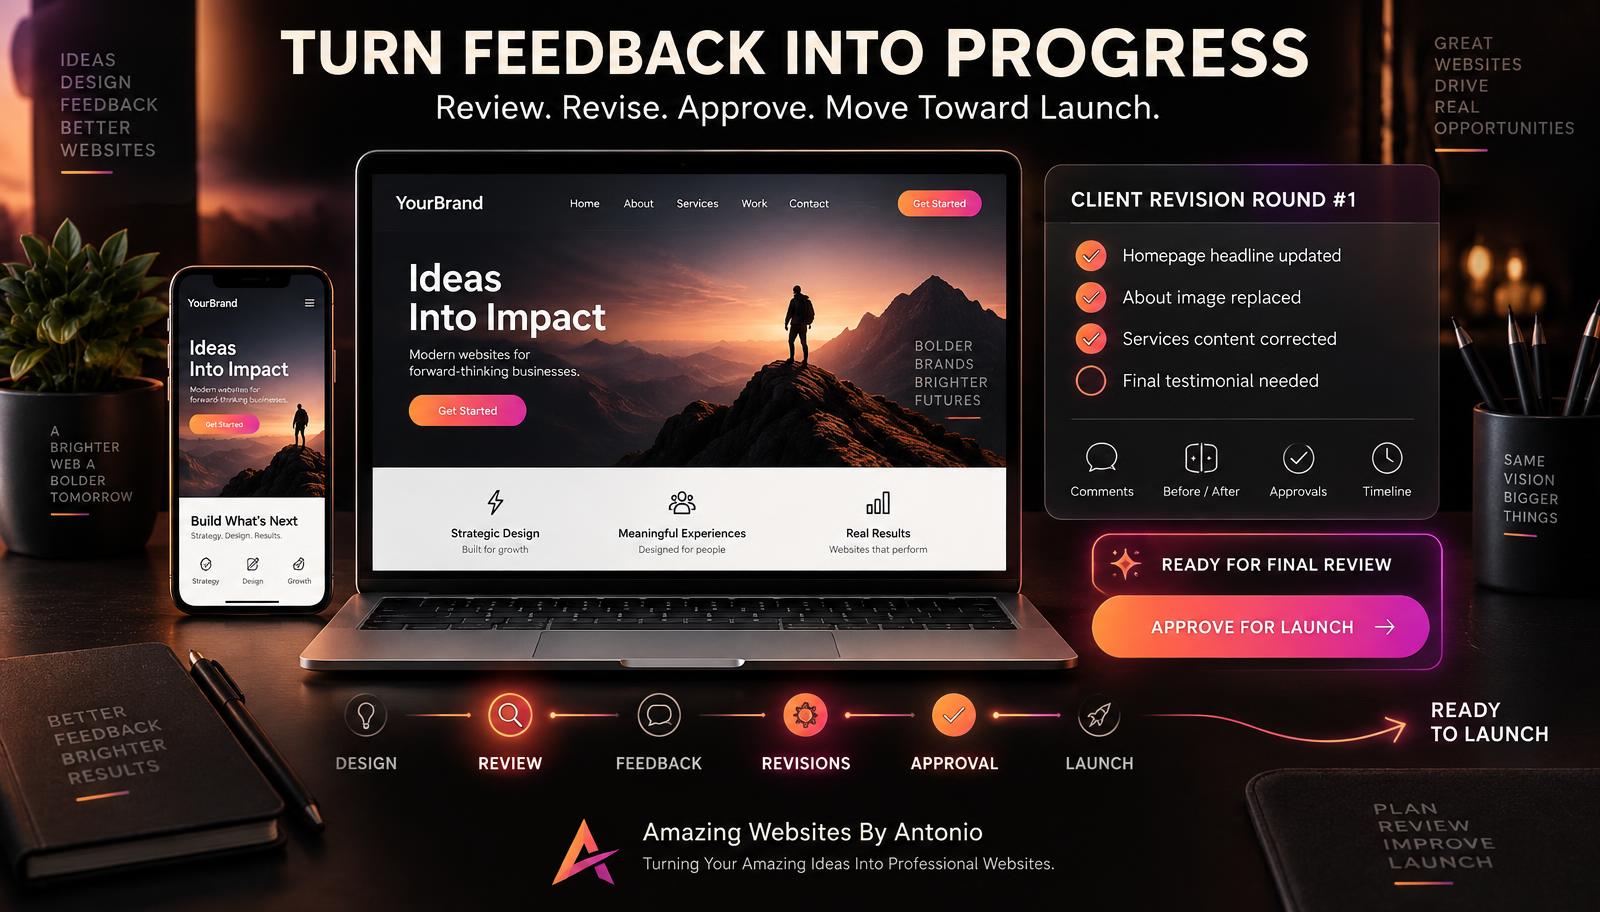
CLIENT REVISION ROUND #1
- ✓ Homepage headline updated
- ✓ About image replaced
- ✓ Service description corrected
- ✓ Contact information updated
- ○ Waiting for new testimonial
- ○ Waiting for final product image
This keeps the project organized.
Confirm When a Revision Round Is Complete
Don’t let revision stages remain open indefinitely.
Send a clear message.
For example:
“Revision Round #1 is complete. All requested changes have been made except the new testimonial, which we’re waiting to receive. Once that is added, we’ll move into final review.”
This establishes progress.
Set Reasonable Feedback Deadlines
A project can stall if a review remains open for weeks.
When appropriate, give the client a clear date.
For example:
“Please send your consolidated feedback by October 5 so we can keep the project moving toward the planned launch schedule.”
Explain why the date matters.
Allow Clients Enough Time to Review
Don’t rush important feedback either.
Clients may need to:
- Read the content.
- Check information.
- Ask a business partner.
- Review products.
- Gather photos.
- Test the website.
Give them a reasonable review window based on the project’s needs.
Test After Revisions
A revision can affect more than one thing.
After making changes, test again.
Check:
- Desktop layout
- Mobile layout
- Links
- Buttons
- Forms
- Navigation
- Images
- Spacing
- Content accuracy
Never assume a revision only affected the exact element you changed.
Don’t Create an Endless Revision Loop
There should eventually be a point where the website moves toward completion.
If the project agreement includes a specific revision structure, remind the client when appropriate.
For example:
“We’ve completed the two revision rounds included in the project. Any additional changes can be reviewed separately before launch.”
Be clear and respectful.
Create a Final Review Stage
Once major revisions are complete, move into final review.
At this point, the focus should shift from redesigning the website to verifying that it is ready.
FINAL REVIEW
- ☐ Content accurate
- ☐ Contact information correct
- ☐ Images approved
- ☐ Links working
- ☐ Forms tested
- ☐ Mobile version reviewed
- ☐ Services correct
- ☐ Calls to action correct
- ☐ Required pages complete
- ☐ Final client approval received
Now the project is moving toward launch.
Get Final Approval
Before launching, ask the client to clearly approve the website.
For example:
“I’ve reviewed the final website and approve it for launch.”
This creates a clear transition between:
REVISION
and
LAUNCH.
Save Major Approvals
Keep a record of important approvals.
Examples:
- Design direction approved
- Content approved
- Final revisions approved
- Website approved for launch
This creates a clear project history.
Celebrate the Progress
Revisions aren’t only about correcting things.
They’re part of transforming an idea into the finished product.
When final approval arrives, celebrate it.
🎉 FINAL WEBSITE APPROVED!
The project has moved from:
IDEA to PLAN to DESIGN to DEVELOPMENT to REVIEW to READY FOR LAUNCH.
That’s a major milestone.
Final Thoughts
Feedback doesn’t have to create chaos.
Revisions don’t have to become endless.
And clients shouldn’t have to wonder whether their requested changes were completed.
A strong review process creates structure.
- Explain what is being reviewed.
- Ask specific questions.
- Collect feedback in one place.
- Track revisions.
- Identify scope changes.
- Confirm completed rounds.
- Test everything again.
- And get clear final approval.
The goal isn’t to eliminate revisions.
The goal is to make revisions productive.
Because every thoughtful round of feedback should move the project closer to one exciting moment:
READY TO LAUNCH.
Amazing Websites By Antonio
Turning Your Amazing Ideas Into Professional Websites